 : +86-139 0587 7291
 English
 Español
 Русский
 Français
 العربية
 Português do Brasil
 Українська
 Türkçe
 Polski
 Nederlands
 Italiano
 Bahasa Indonesia
 हिन्दी
 اردو
اردو አማርኛ
አማርኛ Հայերեն
 ไทย
ไทย Монгол
 فارسی
فارسی Shqip
Shqip Ελληνικά

Mechanical Timer Switch Not Working? Here’s A Few Reasons Why & How To Fix It
Table of Contents
ToggleMechanical timers can stop working due to issues ranging from simple setting errors to mechanical or electrical problems. Let’s look at the common causes, fixes, and tips to keep your timer in great shape.

How Do Mechanical Timers Work?
Mechanical timers work with gears powered by a spring-wound mechanism or an electric motor. These gears interact with a clock dial, letting you set a specific duration. As time passes, the gears advance until the timer completes its cycle.
You can use timers with knobs, dials, or pins to control lights, appliances, or pool equipment. These devices are durable and don’t require batteries, but wear and tear or incorrect settings can disrupt their function.
typical mechanical timer has a dial pointer and pins that allow you to set specific on/off times. Once configured, the timer ticks away, advancing at a consistent rate determined by its gear mechanism.

Why Isn’t My Mechanical Timer Switch Working?
Mechanical timer switch can fail for various reasons. Here are the most common problems and how to fix them:
1. Incorrect Timer Settings
Timers often fail because of incorrect settings. Even small misalignments of the clock dial can cause issues. Check the user manual to make sure everything is set up properly.
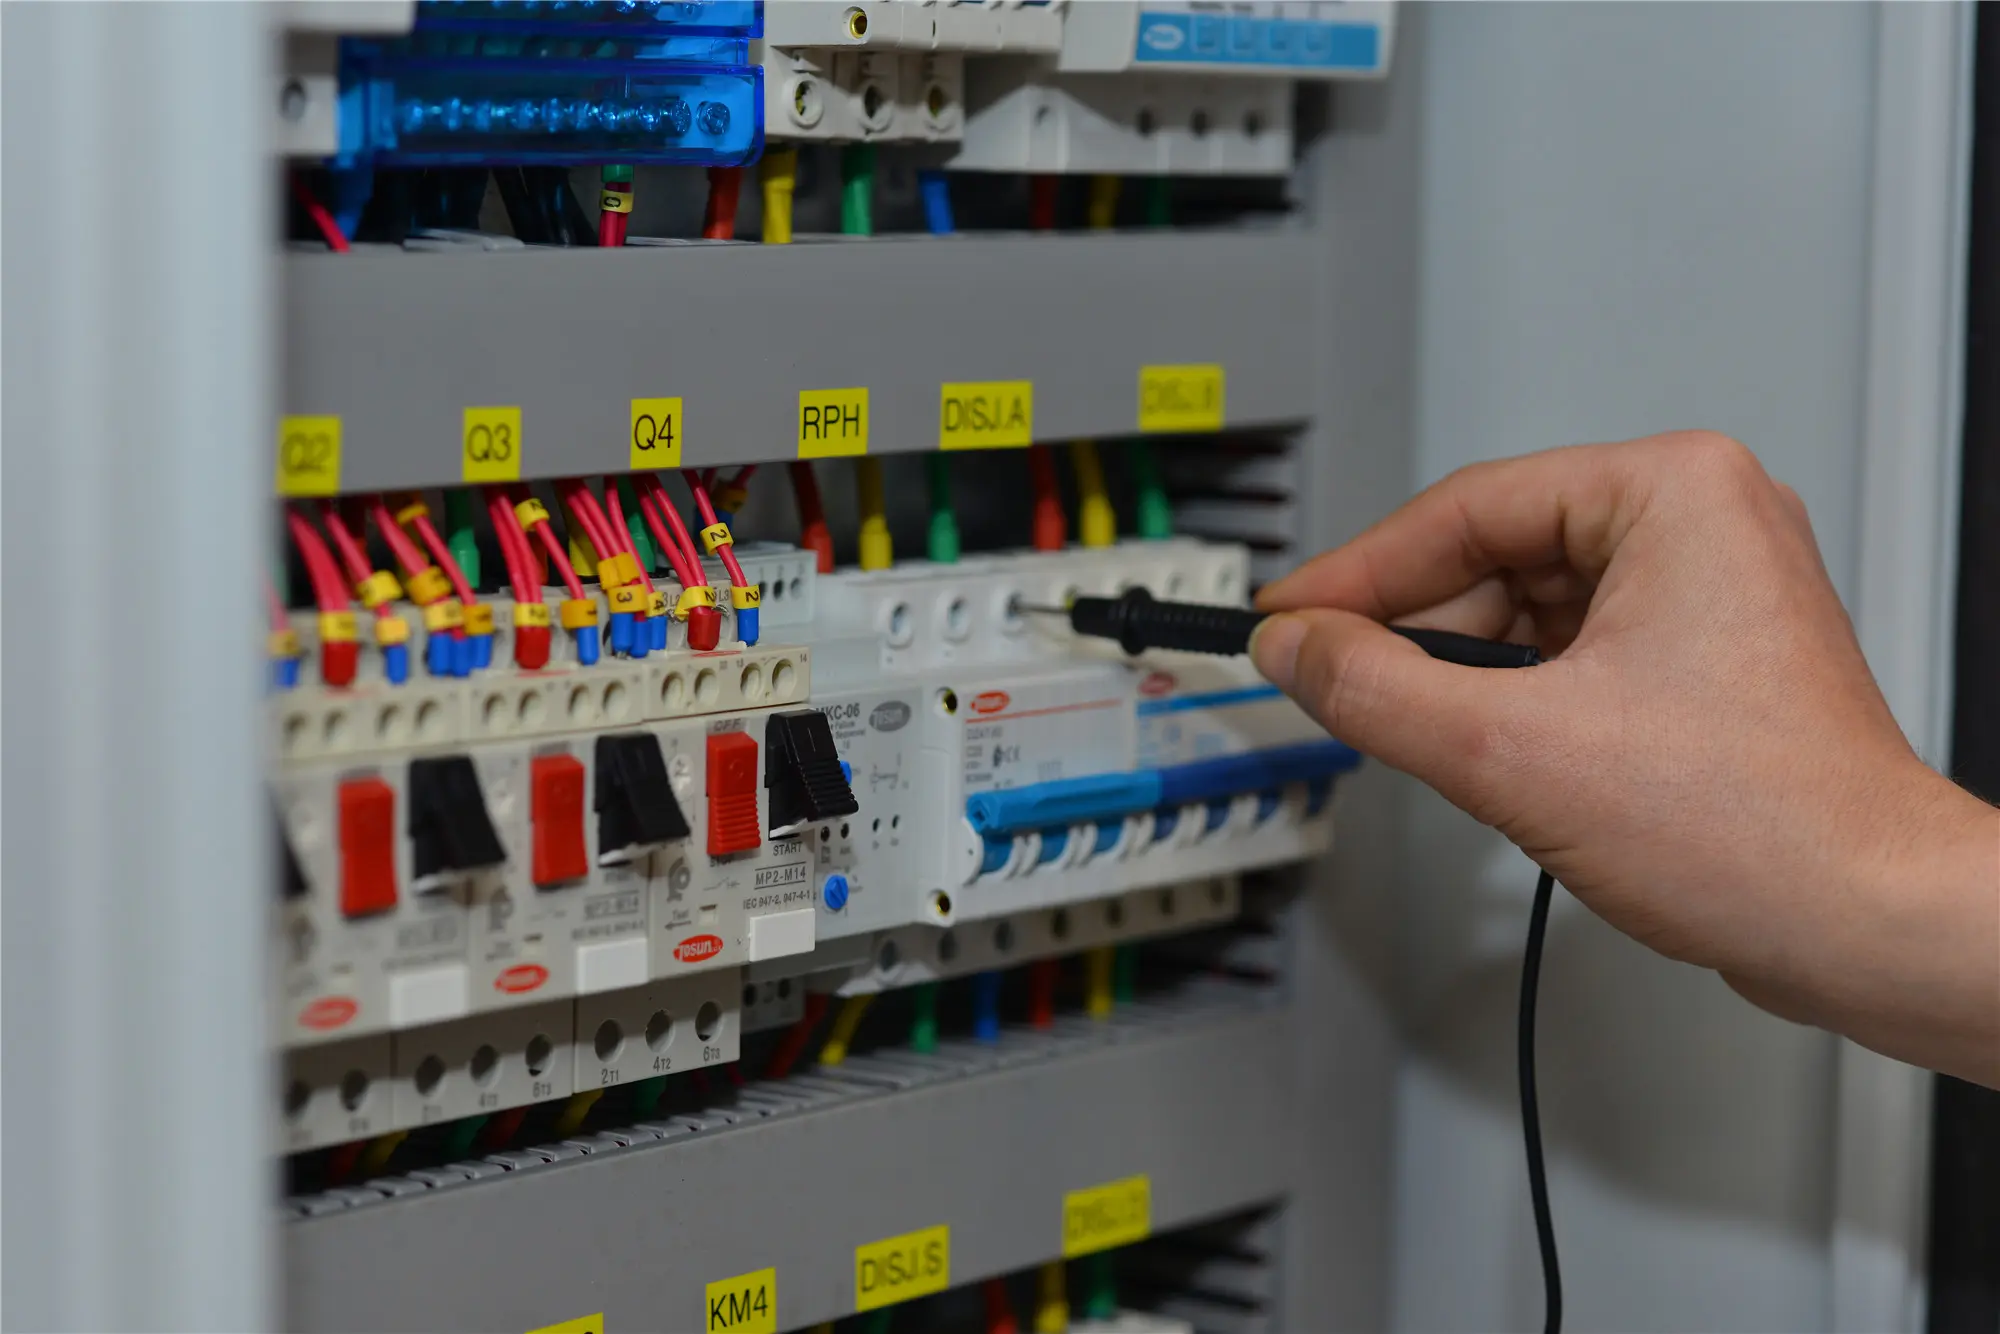
2. Wiring Problems
Loose or faulty wiring, both inside and outside the timer, can stop it from working. This includes disrupted power flow caused by loose terminals or damaged wires.
3. Broken Or Stuck Parts
Dust, dirt, or age can damage or jam gears and springs. Cleaning, lubricating, or replacing these parts often solves the problem.
4. Gears And Spring Issues
Mechanical timers depend on gears and springs. Stripped gears, jammed springs, or poor engagement between components can stop the timer. Replacing these parts might be necessary.
5. Power Supply Problems
Weak or dead batteries in battery-operated timers can cause malfunctions. Electric timers may fail if the power source has low voltage or if a circuit trips. Make sure the timer gets a steady power supply.
6. Yellow Clock Wheel Misalignment
The yellow clock wheel ensures proper operation. If it’s misaligned, the timer won’t function correctly. Adjusting it can resolve many issues.

How to Fix a Mechanical Timer That Is Not Working
- Check Timer Settings:Make sure the settings match your needs. Align the clock dial and position pins or knobs correctly. Incorrect settings are often the easiest issue to fix.
- Inspect Wiring:Look for loose terminals or broken wires. Tighten connections and replace damaged wiring if needed. This keeps the timer’s power flow consistent.
- Clean And Lubricate Parts:Disassemble the timer to remove dirt or corrosion. Lubricate moving parts with clock oil to reduce friction. Replace any broken components to restore functionality.
- Check The Power Supply:Confirm that the timer gets enough power. Replace weak batteries and check for tripped circuit breaker or blown fuses in electric timers.
- Adjust The Yellow Clock Wheel:Make sure the yellow clock wheel is in the correct position. Misalignment can cause erratic performance.
- Wind The Timer:Some mechanical timers switch need winding before use. Fully wind the knob to engage the gears properly.
- Replace The TimerIf:nothing works, consider replacing the timer. A new one ensures reliability and eliminates recurring problems, and remember to reset the timer.

When to Replace a Mechanical Timer Switch
Mechanical timers are designed to be durable, but like any device, they can wear out over time. Here are some signs that it might be time to replace your mechanical timer:
- Inconsistent Timing: If the timer fails to maintain accurate time or skips specific times, it may indicate worn-out gears or a faulty motor.
- Physical Damage: Visible damage such as cracked dials, broken pins, or loose wiring can affect the timer’s functionality and safety.
- Frequent Malfunctions: Repeated issues, despite troubleshooting and maintenance, suggest that the timer’s internal components have degraded.
- Unusual Noises: Grinding or clicking sounds during operation can signal internal damage, such as worn gears or misaligned components.
- Non-Responsive: If the timer doesn’t respond to adjustments or fails to activate connected devices, it might be beyond repair.
- Age: Consider replacing a timer that has been in use for many years, as newer models may offer improved efficiency and features.
Cost Comparison: Repair vs. Replacement
- Repair Costs:
- Labor and Parts: Repairing a mechanical timer generally involves labor costs and the price of replacement parts like gears, springs, or wiring. Depending on the complexity, this can range from $20 to $50.
- Time Investment: Repairs can be time-consuming, requiring careful disassembly, cleaning, and reassembly to ensure proper function.
- Temporary Fix: Often, repairs offer a temporary solution, especially if the timer is old or has recurring issues.
- Replacement Costs:
- New Timer Price: Purchasing a new mechanical timer typically costs between $15 and $40, depending on the brand and features.
- Long-term Reliability: A new timer provides a fresh start with a warranty, reducing the risk of future issues.
- Installation: While installation might require a bit of effort, it ensures a reliable and efficient setup.
Replacing an old or faulty timer with a new timer ensures reliability and can help avoid disruptions in your daily schedule. Always choose a high-quality timer and follow the manufacturer’s instructions for installation and operation.
Don’t Let a Faulty Timer Disrupt Your Day! Discover durable and efficient mechanical timers from TOSUNlux. Request Your Free Quote Today!
How To Clean And Maintain A Mechanical Timer
Regular maintenance keeps your timer working smoothly and extends its lifespan.
- Disassemble And CleanTake apart the timer carefully and clean its internal parts. Avoid shortcuts like submerging it in cleaning solutions, which can damage components.
- Inspect For DamageCheck for stuck or broken gears and springs. Remove dirt and corrosion to free up moving parts. Cleaning and lubricating often fix these issues.
- Check Wiring ConnectionsMake sure all wiring connections are tight. Loose wires can disrupt functionality.
- Apply LubricationUse clock oil to lubricate moving parts. This reduces friction and ensures smooth operation.
- Reassemble And TestReassemble the timer, aligning all parts correctly. Test it to confirm it works properly.
- Perform Regular MaintenanceClean the timer periodically to prevent dirt buildup. Let the cleaned parts dry completely before reassembly.

FAQs About Mechanical Timers
Do Mechanical Timers Wear Out?
Yes, regular use can wear out mechanical timers. Gears, springs, and other moving parts may need replacement over time.
How Do You Check A Timer Switch?
To check a timer switch:
- Look for loose wires or connections.
- Verify that the settings are accurate.
- Make sure the power source is functional.
- Check for damage or dirt in the gears and springs.
Are Mechanical Timers Reliable?
Mechanical timers are dependable for most tasks. Regular cleaning and lubrication can keep them in good condition for years.
What Are Mechanical Timers Best Used For?
They’re ideal for simple applications like lighting control, pool equipment, and appliances where precise timing isn’t critical.
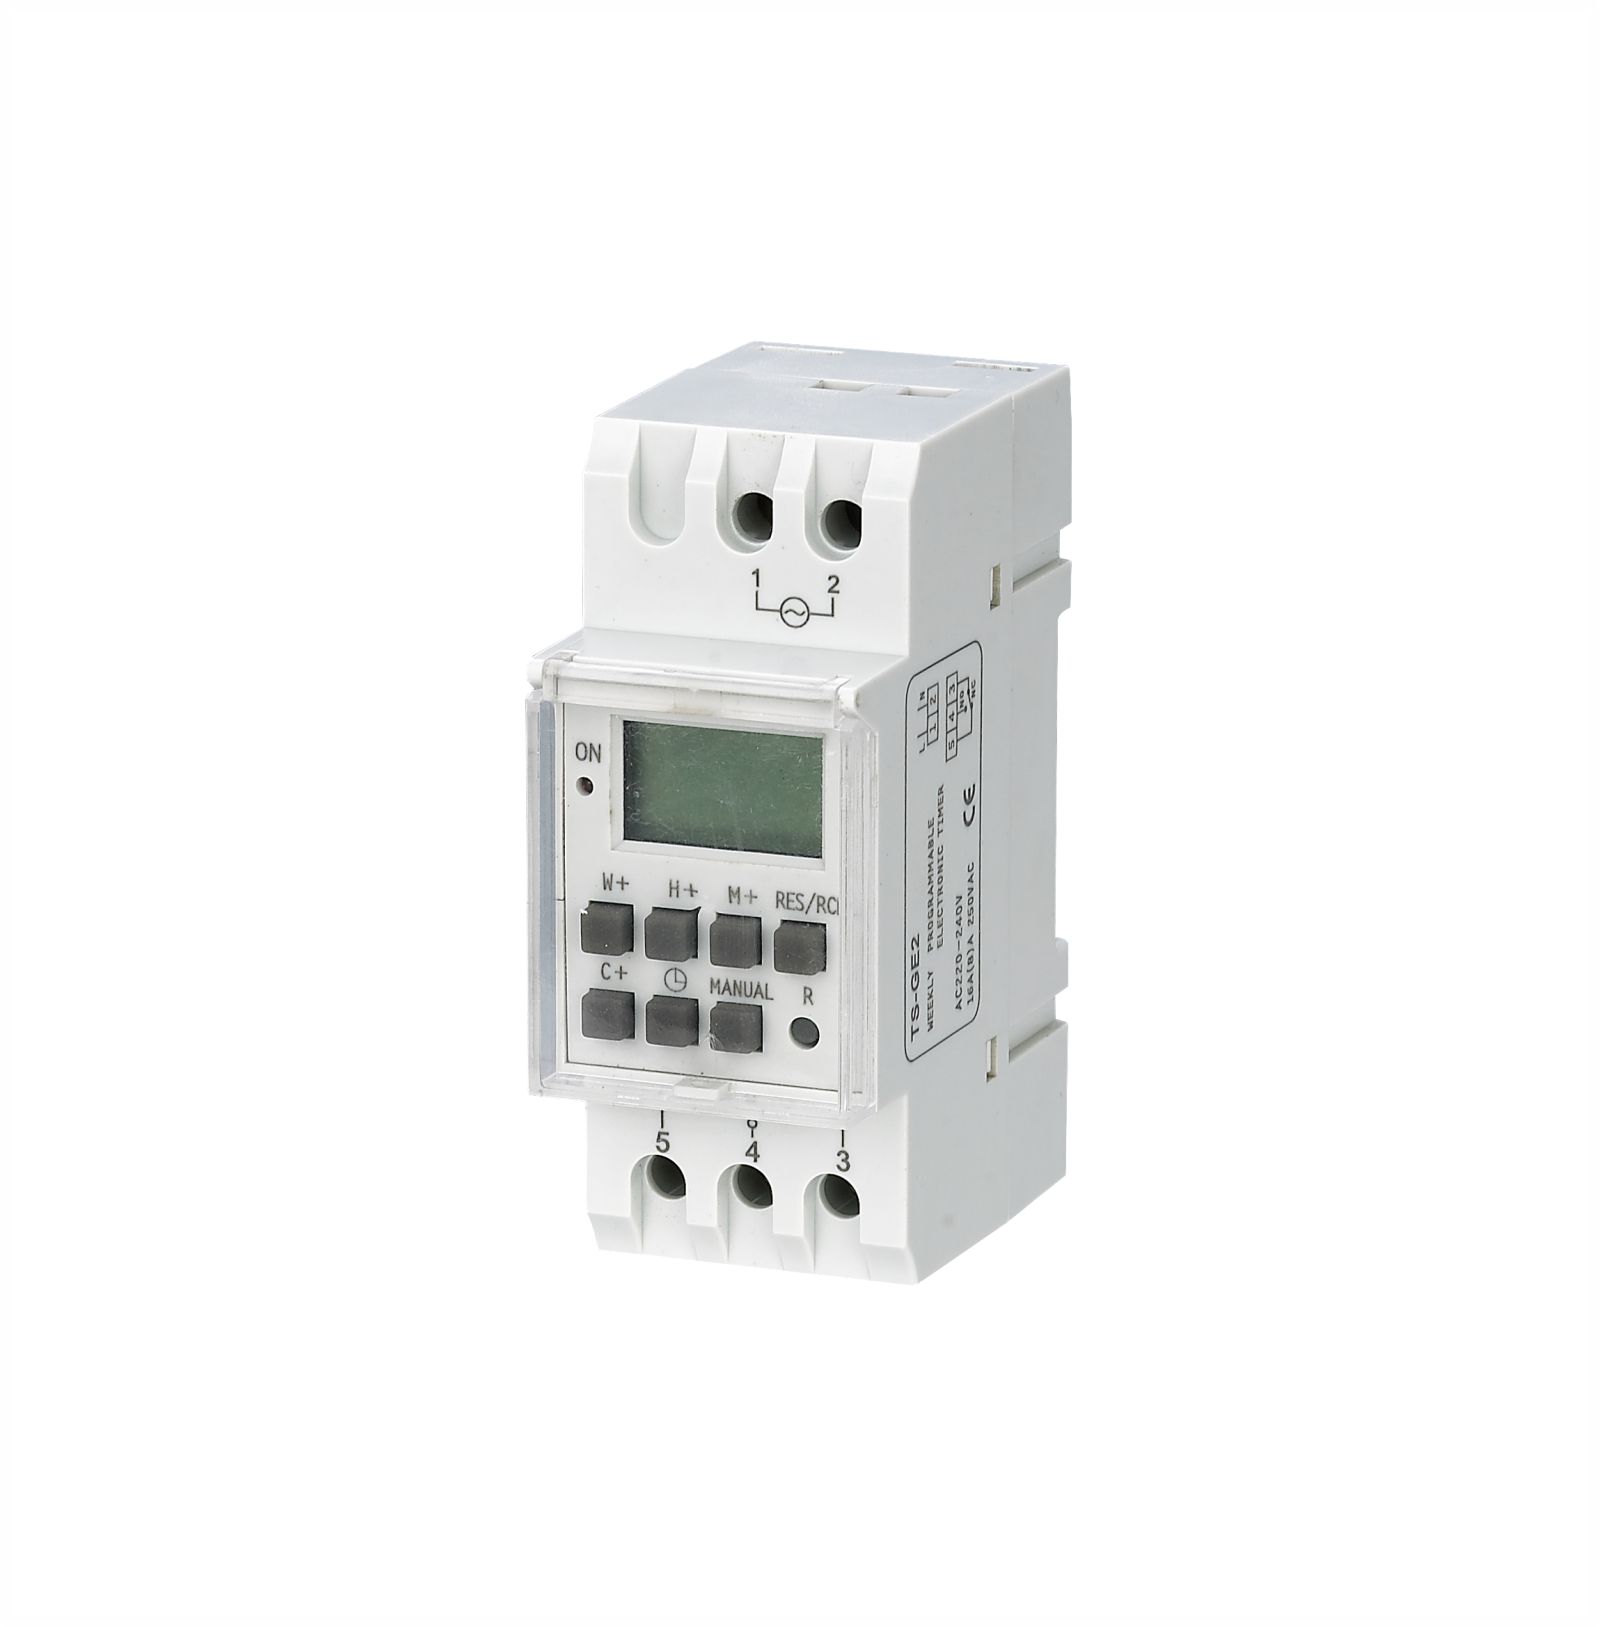
What If I Need More Precision Or Flexibility?
Digital timers, like the TOSUNlux THC15A, provide advanced features such as countdowns and weekly programming. These devices offer more precise control over scheduling and are suitable for high-power loads.
Mechanical outlet Timers vs Automatic
Mechanical outlet timers use a simple dial and gear mechanism to control on/off cycles, making them reliable and easy to use without the need for batteries. In contrast, automatic timers, often digital, offer more precise scheduling and flexibility, such as programmable settings and multiple on/off times, but may require a power source or battery backup.

Conclusion
Mechanical timers help you manage tasks efficiently. By addressing common issues and maintaining them regularly, you can ensure they last for years. If problems persist, replacing the timer with a high-quality model is the best solution.
For dependable mechanical timers and expert solutions, trust providers like to deliver quality products designed to simplify your life. Contact us today for more information!
🔎 Recommended Reading for Mechanical Timer Switch
Understanding the Plug-in Mechanical Timer
Learn about the functionality and applications of plug-in mechanical timers in electrical systems.
Solid State Relay vs Electromechanical Relay
Explore the difference between solid-state relays and electromechanical relays, and understand where mechanical timer switches fit in.
The Interrupt Capacity of Circuit Breakers
Understand how mechanical timer switches are used in combination with circuit breakers for better protection and control.


Tel: +86-577-88671000
E-mail: ceo@tosun.com
Skype: tosunelectric
Wechat: +86-139 6881 9286
WhatsApp: +86-139 0587 7291
Address: Room No.1001 Wenzhou Fortune Center,Station Road, Wenzhou, China
REQUEST A QUOTE
WhatsApp us